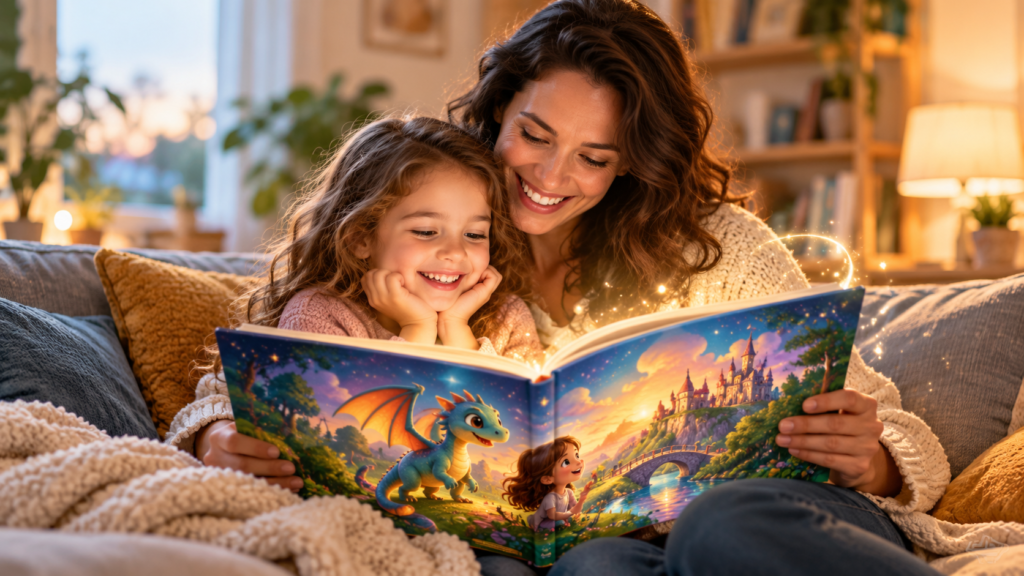
Creating an illustrated children’s book used to require separate skills in writing, illustration, design, and layout. AI can now speed up many of those steps, but the best results still come from a clear workflow.
This guide shows you how to go from a simple story idea to a complete first draft: concept, synopsis, page plan, visual style, illustrations, text, cover, and final layout.
Why use AI to create a children’s book?
AI is useful because it reduces friction between the idea and the first draft. It can help you brainstorm characters, structure the story, improve wording, generate visual concepts, and speed up illustration work.
The goal is not to let AI make every creative decision. The goal is to use AI as a production assistant while you stay in control of the story, tone, age range, visual direction, and final quality.
Step 1: Start with one clear story idea
Keep the concept simple. Before writing anything, answer four questions:
- Who is the main character?
- What world do they live in?
- What problem, mission, or discovery drives the story?
- What feeling or lesson should the child take away?
For example: a young girl loves watching the stars. One night, a tiny moon appears at her window because it has lost its light. She goes on a short journey to help it shine again.
If you struggle with blank-page syndrome, use the same process we recommend in our guide to writing better AI prompts: give the model a clear role, audience, goal, and constraints.
Step 2: Turn the idea into a short synopsis
A synopsis gives the story a beginning, middle, and end before you start generating images.
A simple structure works well:
- Beginning: introduce the character and setting.
- Problem: something changes or needs to be solved.
- Adventure: the character takes action and meets obstacles.
- Resolution: the main problem is solved.
- Ending: close with a reassuring, funny, or meaningful final moment.
For a short picture book, the synopsis can be only five to eight sentences. You do not need a full manuscript yet.
Step 3: Break the story into pages or scenes
Once the synopsis works, divide it into eight to twelve scenes. A useful rule is: one page or spread, one main idea.
For example:
- Introduce the main character.
- Show the problem.
- Begin the journey.
- Meet the first challenge.
- Discover a clue.
- Find the solution.
- Return home.
- End with the emotional payoff.
This page plan becomes the blueprint for both the writing and the illustrations.
Step 4: Define the visual style before generating images
Consistency matters more than visual complexity. Choose the art direction before you generate the first scene.
Define:
- illustration style: cartoon, watercolor, soft digital painting, storybook, paper-cut, etc.
- color palette: pastel, bright, warm, muted, cosmic, natural.
- lighting: morning, golden hour, moonlight, soft studio light.
- age range: preschool, early reader, 6–8 years, and so on.
- character details: hair, clothing, age, proportions, accessories.
Write these details into a reusable “style block” and include the same block in every image prompt.
Step 5: Generate the illustrations scene by scene
Each prompt should describe the character, action, setting, emotion, composition, and style.
Example:
Children’s storybook illustration. A six-year-old girl with curly brown hair, blue pajamas, and a warm smile stands by her bedroom window at sunset, looking at a tiny glowing moon floating outside. Soft colorful storybook style, gentle magical lighting, expressive face, consistent character design, warm family-friendly mood.
Generate one scene at a time and compare every new image with the previous ones. Watch for changes in face shape, hair, clothing, scale, or color palette.
For more on evaluating AI-generated visuals, see our AI image quality evaluation guide. The same principle applies here: visual appeal is not enough; consistency and accuracy matter.
Step 6: Write the text page by page
Now write the story around the visual sequence. Keep sentences short, especially for younger readers.
Use the illustrations to carry part of the meaning. You do not need to describe everything that is already visible.
Read each page out loud. If a sentence feels too long when spoken, simplify it.
Step 7: Create the cover
The cover should communicate the book’s world immediately. Use a clear title, one strong focal image, and a composition that still works as a small thumbnail.
A good cover usually needs fewer elements than an interior illustration.
Before finalizing it, test the title at phone-screen size. If it becomes difficult to read, simplify the typography.
Step 8: Assemble the book
You can assemble the first draft in Canva, Google Slides, PowerPoint, or a dedicated page-layout tool.
Keep the layout consistent:
- same margins,
- same text position,
- same font family,
- consistent page numbering,
- enough white space around the text.
Export a PDF and read the book from beginning to end without editing. That first uninterrupted read is often where pacing problems become obvious.
Step 9: Run a final quality check
Before you consider the first draft complete, check:
- character appearance from page to page,
- visual style and palette,
- grammar and spelling,
- age-appropriate vocabulary,
- page order and pacing,
- cover readability,
- whether any AI-generated image contains accidental text or visual artifacts.
A fast AI children’s-book workflow
A focused first-draft workflow can look like this:
- Choose the idea.
- Write the synopsis.
- Plan eight to twelve scenes.
- Create a visual style guide.
- Generate illustrations.
- Write the page text.
- Design the cover.
- Assemble the pages.
- Export and review the PDF.
A simple project may be possible in a single focused session, but speed depends heavily on how many image revisions you need. Treat “fast” as a first-draft goal, not a guarantee.
Which tools do you actually need?
You do not need a large stack. A practical setup usually includes:
- one AI assistant for brainstorming and writing,
- one image generator,
- one layout tool,
- one place to store your prompts, character description, and scene plan.
Our broader AI workflow guide explains why keeping the tool stack small often produces better results than constantly switching platforms.
Common mistakes to avoid
Starting illustrations before the story structure is stable
You may end up recreating many images because the narrative changes later.
Changing the art style from prompt to prompt
Use one reusable style block and one fixed character description.
Putting too much text on every page
Picture books rely on the relationship between words and images.
Assuming every AI image is ready to publish
Check hands, faces, background details, accidental text, proportions, and character continuity.
Ignoring the terms of the tools you use
If you plan to sell or distribute the book, review the commercial-use and licensing terms of each AI and design tool before publishing.
Final takeaway
AI makes children’s-book creation much more accessible, but the workflow matters more than the novelty of the tools.
Start with the story. Lock the structure. Define the visual rules. Generate scenes consistently. Then assemble and review the book as a whole.
If you follow that sequence, you can turn a simple idea into a polished first draft much faster than trying to generate pages at random.